Vehicle graphics have become one of the best ways to advertise your company, service, or to mark municipal vehicles without breaking the bank. A study by the American Trucking Association found 96% of people noticed vinyl wraps and 98% of those said wraps were more memorable than billboards. If you aren’t using vinyl wraps – you’re missing out on some serious exposure.
With vehicle wraps you can customize every part of the design and choose complicated patterns and graphics to make your vehicle stand above the rest, but what happens when it’s time to move on and change your graphics?

Removing Vehicle Graphics & Paint Protection Film
If your current wrap or paint protection film (PPF) has seen better days or if you’ve decided to change up your advertising, you will need to remove all vehicle graphics or PPF to begin again. Unfortunately, there’s more on how to remove vinyl graphics from your vehicle then just peeling, but it’s not complicated with the right tools and techniques.
Let’s learn how to remove vehicle graphics and paint protection film including tools and tips to make the job easier and when you should contact a professional like The Artworks. Vehicle graphics make your car look great and PPF protects your vehicle but sometimes they need to go.
How to Remove Vehicle Graphics
Why Remove Vinyl Graphics?
Vinyl graphics are not permanent. Most vinyl graphics last anywhere from five to seven years though factors like sun and wind exposure can make a drastic difference in lifespan. Instead of gauging your graphics by age, you should monitor their condition instead.
Signs You Need to Replace Your Vehicle Graphics
- Peeling – When the wrap begins to peel on its own, it’s time to replace.
- Cracking – Cracking is unsightly and a surefire sign your vinyl wrap is on its last legs.
- Fading – Sun exposure takes an eventual toll on vinyl wraps with muted and faded colors.
Before You Begin Removing Vinyl Graphics
Tools You Need
- Heat Gun or Torch – Heats the vinyl and softens the adhesive for easier removal. It’s vital to take care when heating near plastic pieces to not damage the vehicle.
- Residue Remover – Helps remove remaining adhesive and residue for a fresh work surface. If you can find or order it, use professional vinyl adhesive solvent. If you can’t find vinyl adhesive remover, you can use citrus-based cleaners to help remove leftover adhesive.
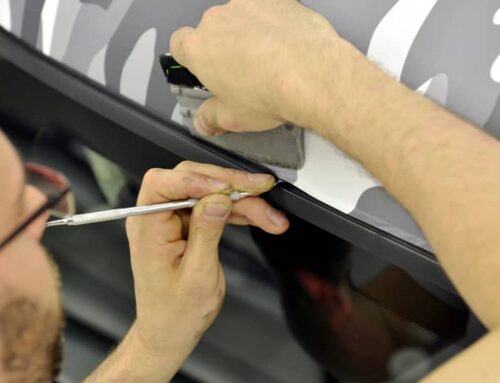
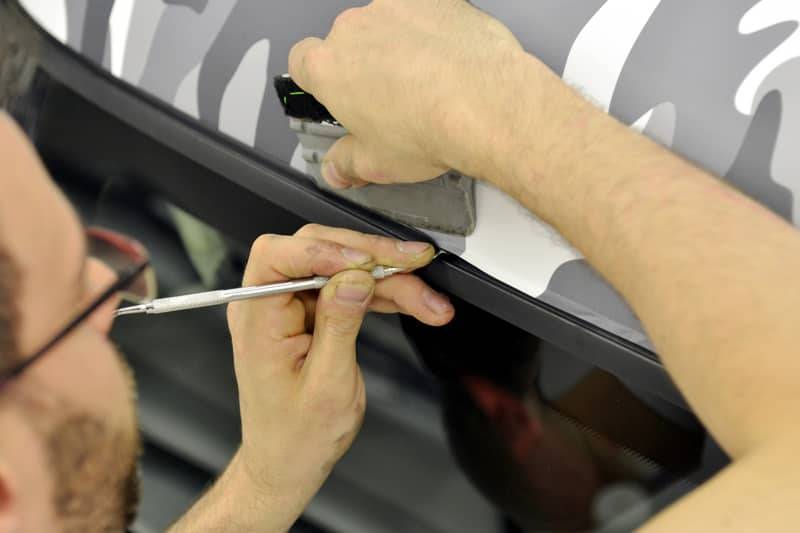
- Plastic ‘Razor’ – Available online and auto parts stores. Helps get under and peel up old vinyl without damaging the paint like a metal razor will.
Vinyl Graphic Removal Preparation
Fortunately, there’s little preparation work when removing vinyl graphics other than assembling your tools. Once your tools are in hand, you’re ready to start peeling.
- Work in small sections or you’ll overwhelm yourself with shreds of vinyl.
- Heat the area you plan on removing with a blowtorch or heat gun. You’re not burning the vinyl off, you’re only making it more pliable, so be careful and watch your flame. If the vinyl begins to bubble or char, remove heat immediately.
- If you can’t get your hands on a heat gun or torch, park the vehicle in the sun for a couple hours to heat things up the natural way. The warmer the outside temperature is the easier vinyl graphics tend to peel off.
- Start in a corner for a methodical process.
- Once the area is pliable use your razor or fingers to carefully peel off the vinyl graphics. It might come off in nice sheets but probably not. Keep the angle at 45 degrees with even pressure for better success at pulling up big pieces. This process can take a few hours to a full weekend.
- After you have removed the bulk of the wrap, there will be leftover adhesive you need to remove.
- Working one section at a time, apply adhesive remover and follow the directions before using your plastic razor and a microfiber cloth to remove all remaining adhesive. If you have a ball of old adhesive, you can also use this to “tack” off the adhesive left behind on the paint.
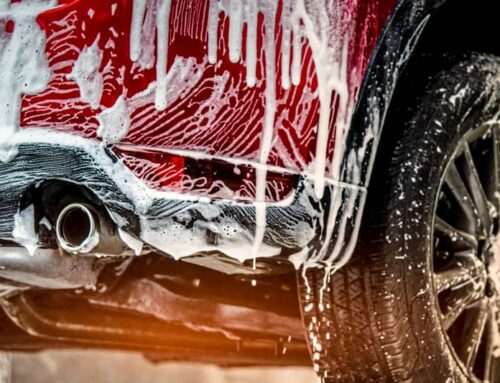
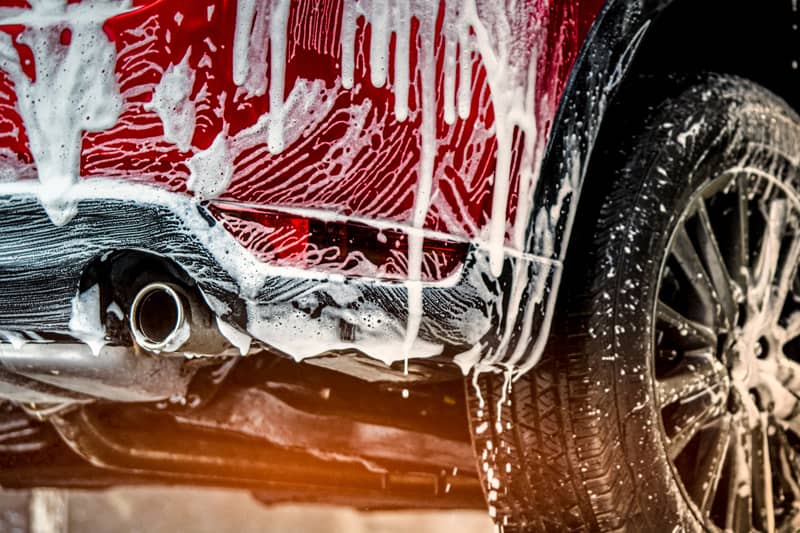
- Give your vehicle a good wash and you’re one step closer to a new wrap.
How to Remove Vinyl Graphics? Use a Professional!
Removing vinyl wraps is a time-consuming and complicated job. The average vehicle owner can realistically complete the job but that doesn’t mean they should. Removing vinyl graphics is risky, tedious, frustrating, and will require most homeowners to purchase new tools. Instead of cursing the heavens while you peel off slivers of graphics one square inch at a time, have a professional with the knowledge and experience of how to remove vinyl graphics or paint protection film do the hard work for you.
The Artworks has the right tools and experience to quickly and efficiently remove your vinyl wrap and have it ready for a new one or to bring back the stock look of your vehicle.
Old Film and Graphics Gone
Removing your vehicle’s vinyl wrap may be a pain in the butt, but it’s much easier if have the right tools and use the right techniques. Take your time while removing your vinyl wrap and if you don’t feel like wading in a sea of vinyl – call a The Artworks for all your vehicle graphics needs. No matter which way you go, you can have your old wrap off and a new wrap on with some elbow grease and know-how.
